By clicking “Accept,” you agree to the use of cookies and similar technologies on your device as set forth in our Cookie Policy and our Privacy Policy. Please note that certain cookies are essential for this website to function properly and do not require user consent to be deployed.
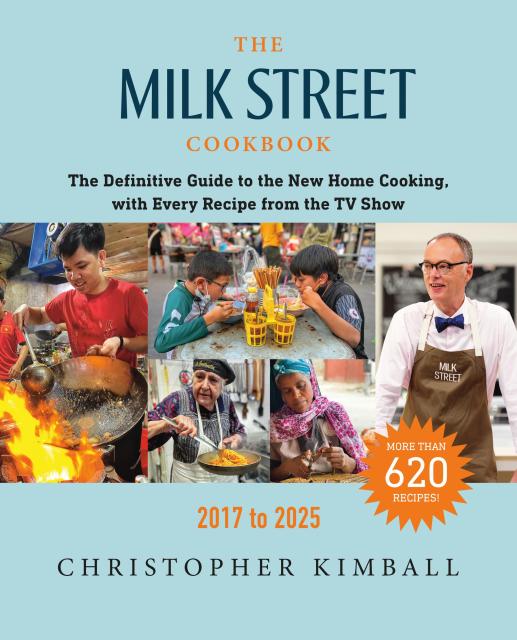
The Milk Street Cookbook
The Definitive Guide to the New Home Cooking, with Every Recipe from the TV Show, 2017-2025

Contributors
Formats and Prices
Price
$50.00Price
$63.00 CADFormat
Format:
- Hardcover (Revised) $50.00 $63.00 CAD
- ebook (Revised) $35.99 $46.99 CAD
- ebook (Revised) $35.99 $46.99 CAD
- ebook (Revised) $19.99 $25.99 CAD
- ebook (Revised) $16.99 $21.99 CAD
- Hardcover (Revised) $45.00 $57.00 CAD
- Hardcover (Special Edition) $45.00 $57.00 CAD
- Hardcover (Revised) $45.00 $57.00 CAD
- Hardcover (Revised) $40.00 $50.00 CAD
- Hardcover (Revised) $50.00 $63.00 CAD
This item is a preorder. Your payment method will be charged immediately, and the product is expected to ship on or around November 12, 2024. This date is subject to change due to shipping delays beyond our control.
Also available from:
Christopher Kimball’s James Beard–, IACP- and Emmy Award–winning Milk Street TV show and cookbooks give home cooks a simpler, bolder, healthier way to eat and cook.
Now featuring more than 620 tried-and-true recipes, including every recipe from every episode of the TV show, this book is the ultimate guide to high-quality, low-effort cooking—the perfect kitchen companion for cooks of all skill levels.
At Milk Street, there are no long lists of impossible-to-find ingredients, esoteric cookware or all-day methods. Instead, every recipe has been adapted and tested for home cooks like you. You’ll find simple recipes with big flavor for any day of the week, such as:
- Romaine Salad with Manchego
- Smoky Pepper Dressing
- Patatas Bravas
- Zucchini Carbonara
- Pakistani-Style Chicken Biryani
- Georgian Cheese Bread
- Babas au Rhum
Organized by primary ingredient and type of dish—with chapters on salads, soups, grains, vegetable sides and mains (including simple chicken, beef and pork dinners), plus memorable desserts—this book is an indispensable reference that will introduce you to extraordinary flavors and ingenious techniques.
Genre:
-
"Bound to cause [Kimball's] fans to rejoice... this book is designed for hard, occasionally sloppy, countertop duty... The book fulfills its promise of sourcing the world's cuisines in search of flavor bombs that are made easy to produce in American kitchens."The Wall Street Journal
-
"This approachable book compiles an army of global recipes that are bold in flavor, yet simple enough for the home cook. Try the mouth-watering soups, such as Spicy Red Lentil Stew and Spanish Garlic. And be sure to pay attention to the technical tips along the way."RealSimple
-
"Geeky gourmands will find Milk Street to be mandatory reading... cultures collide on plates [and] layered spices unleash flavors just as well as slow cooking unlocks them."Boston Herald
-
"New, exciting, and revolutionary... with recipes that reflect the multicultural world we live in, Christopher Kimball's Milk Street embraces global flavors with a fervor... [its] smart, encompassing recipes... [are] game-changing."Houston Chronicle
- On Sale
- Nov 12, 2024
- Page Count
- 800 pages
- Publisher
- Voracious
- ISBN-13
- 9780316572552
You May Also Like


Newsletter Signup
By clicking ‘Sign Up,’ I acknowledge that I have read and agree to Hachette Book Group’s Privacy Policy and Terms of Use