
By clicking “Accept,” you agree to the use of cookies and similar technologies on your device as set forth in our Cookie Policy and our Privacy Policy. Please note that certain cookies are essential for this website to function properly and do not require user consent to be deployed.
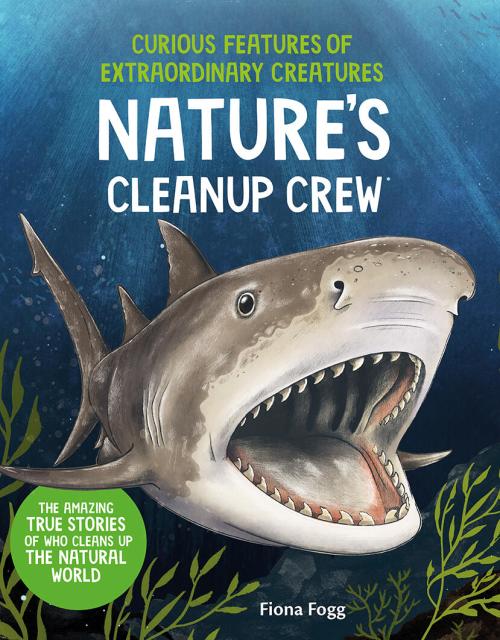
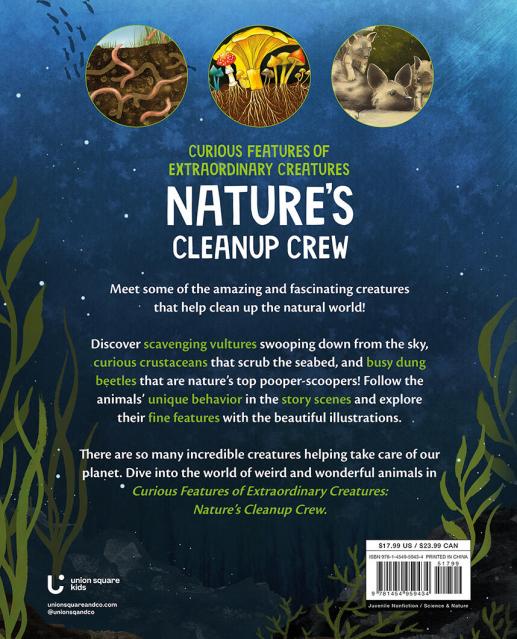
Curious Features of Extraordinary Creatures: Nature’s Cleanup Crew


Contributors
By Fiona Fogg
Formats and Prices
Price
$17.99Price
$23.99 CADFormat
Format:
Hardcover $17.99 $23.99 CADAlso available from:
- On Sale
- Apr 22, 2025
- Page Count
- 56 pages
- Publisher
- Union Square Kids
- ISBN-13
- 9781454959434
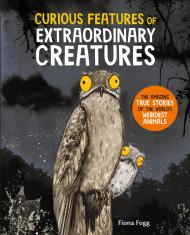
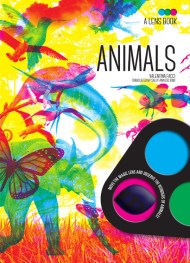
You May Also Like

Newsletter Signup
By clicking ‘Sign Up,’ I acknowledge that I have read and agree to Hachette Book Group’s Privacy Policy and Terms of Use
